
Last updated November 16, 2026
 Wrought iron
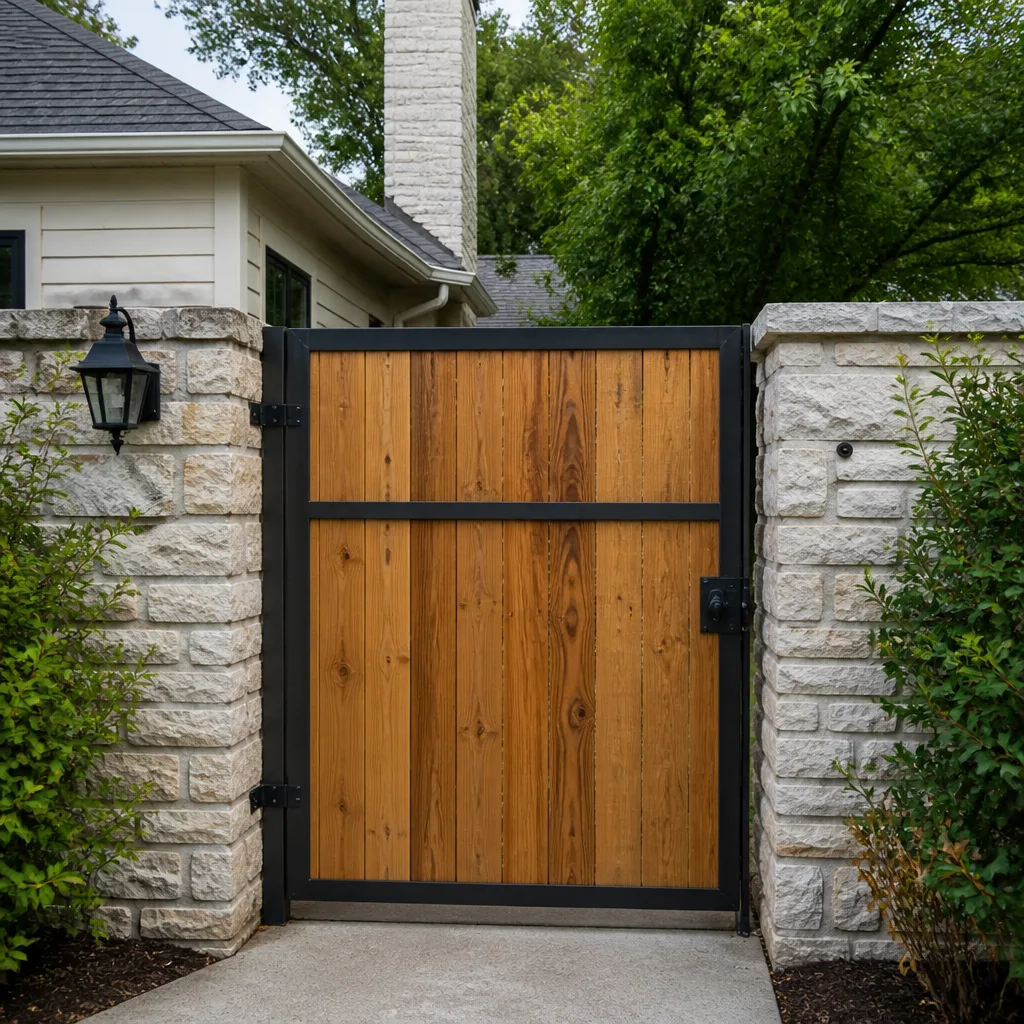 Wood & steel frame
 Farm & ranch
 Sliding driveway gates
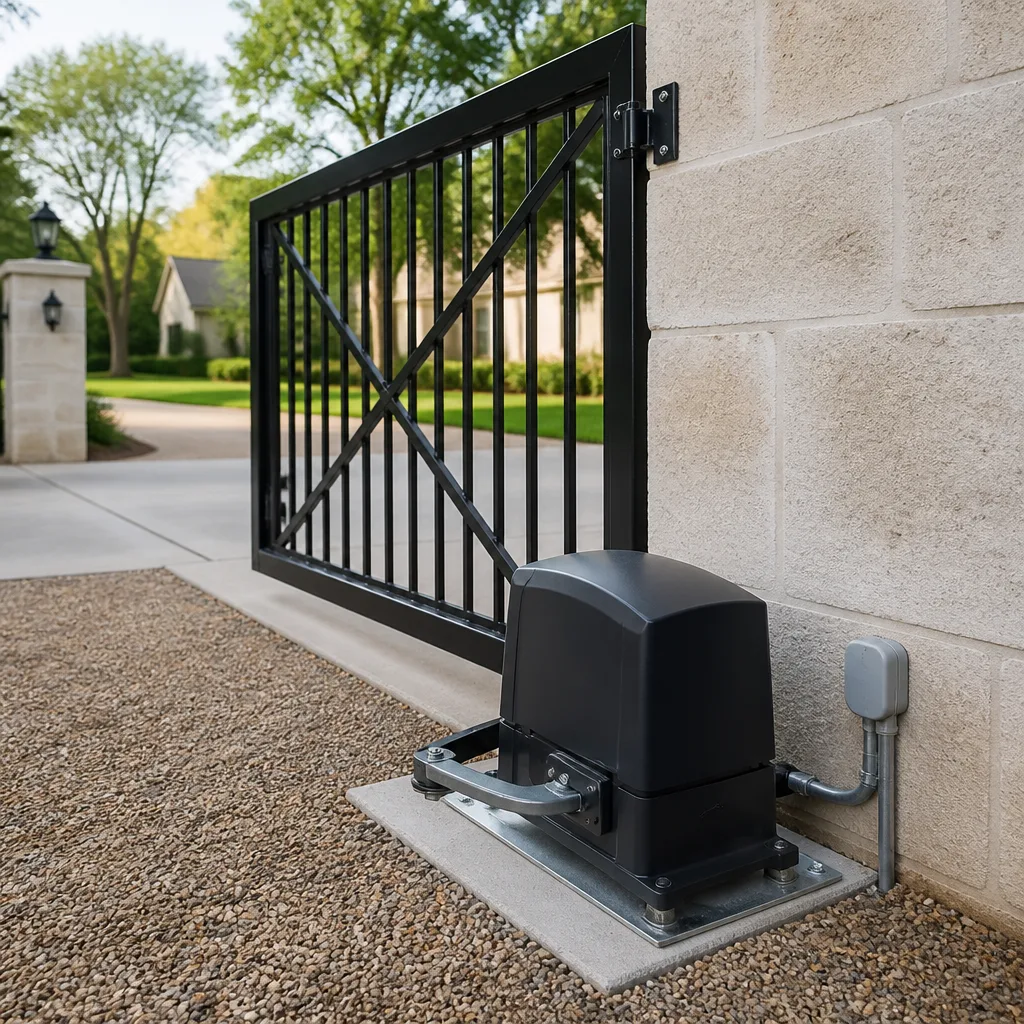 LiftMaster operators
Free on-site gate assessment - hinges, posts, and your LiftMaster or Nice gate operator checked before anything is quoted
The assessment is free and the quote is the invoice.
Get your free estimateDIY vs Professional Gate Repair: The Hampton Homeowner’s Decision Guide
Here’s the pattern that surprises people: the repairs that look terrifying on video are often the ones you should leave alone, and the ones that look impossible are frequently a screwdriver and four minutes. Hampton homeowners routinely order a replacement operator online, wire it in wrong, and take out a control board in the process. Then they call us to adjust a limit switch that was never the problem. The gate doesn’t care how confident you felt watching a tutorial. What follows is a component-by-component map of what’s genuinely safe to handle, what needs a trained hand, and where the real line sits between them.
Quick Answer
Most Hampton homeowners can safely handle a short list of gate tasks: replacing keypad batteries, using the manual release, lubricating hinges, reprogramming remotes, and cleaning sensors. Anything involving the operator, control board, wiring, hydraulic arm, or a heavy gate panel that has dropped or jammed should go to a professional, because a swing gate operator stores force that can injure and a botched wiring job can void a warranty on a nearly new unit. The dividing line isn’t skill, it’s system complexity and liability.
Styles & brands we work with
- Wrought iron
- Wood & steel frame
- Farm & ranch
- Sliding driveway gates
- LiftMaster operators
Table of Contents
- The Component-by-Component Decision Matrix
- Why Swing Gate Operators and Hydraulic Systems Are a Genuine Safety Risk
- The Five Repairs You Can Confidently Do Yourself
- What a Voided Warranty Actually Costs in Hampton
- Diagnosis vs Replacement: Why the Brand Matters
- How to Tell a Technician About a Failed DIY Attempt
- When a Gate Fails Again After a DIY Fix
The Component-by-Component Decision Matrix
Think of your gate as two systems stacked on top of each other. The mechanical side is hinges, posts, latches, rollers, and panels. The electrical side is the operator, the control board, the safety sensors, the wiring, and anything that talks to a keypad or intercom. Most DIY damage happens when a homeowner treats the electrical side like it’s mechanical.
Genuinely DIY-safe
- Keypad and remote batteries. Straightforward and harmless. Swap them and retest.
- Sensor cleaning and alignment. Wipe the lens, clear spider webs and debris, confirm the photo-eye is aimed at its target. This alone resolves a surprising number of “gate won’t close” calls.
- Hinge lubrication. A few drops of lubricant on a squeaking hinge saves a lot of wear.
- Manual release operation. Every operator has one. Learning where it is and how it disengages the gate is the single best thing you can do before a storm or a power cut.
- Remote reprogramming. Usually covered in the manual and safe to attempt.
Professional territory
- Control board diagnosis and replacement. Boards are expensive and rarely the actual root cause.
- Any new wiring, power run, or 120V connection. Electrical work at the panel or a new power run belongs to a licensed electrician.
- Operator motor replacement. Heavy, spring-loaded, and unforgiving of wrong parts pairing.
- Hydraulic arm service. Seals, pressure, and bleed procedures aren’t homeowner projects.
- A sagging or dragging panel. Adjusting the operator won’t fix a dropped hinge, and forcing it will strip the drive.
- Safety edge and photo-eye replacement where the device is integrated into the operator. Life-safety devices need a trained eye.
Why Swing Gate Operators and Hydraulic Systems Are a Genuine Safety Risk
A swing gate operator isn’t a garage door opener scaled up. It’s a machine that moves a heavy panel with enough force to break an arm, and it does so automatically, often while nobody is watching. Safety devices on an electric gate aren’t accessories. They are the reason the gate stops when a child walks into its path, and if a homeowner rewires the operator while bypassing or misaligning those devices, the gate becomes a hazard that closes on whatever is in front of it.
A few specific dangers worth naming plainly:
- Stored force in a hydraulic arm. The arm holds pressure even when the power is off. Disconnecting it wrong can release that pressure suddenly.
- Heavy swing and slide panels. A 12- or 16-foot gate weighs enough that a panel coming off its track or collapsing onto a person is a serious injury, not a scrape.
- Slide gates that jump the track. A gate that has come off its rollers is unstable. Re-engaging it under tension is a job for someone who has done it, not a first attempt.
- Live wiring. Low-voltage control wire is one thing; a 120V feed at the operator is another. Anything at line voltage needs a licensed electrician.
If you take one thing from this guide: never try to force an operator back into position by hand while the power is on, and never assume a gate that “still closes” is safe because it moves. A gate that closes automatically without working safety edges is a liability regardless of whether the operator is running.
The Five Repairs You Can Confidently Do Yourself
These are the ones we actively encourage homeowners to handle. They save you a service call and, more importantly, they teach you how your system behaves so you can describe problems accurately when something bigger goes wrong.
- Replace keypad and remote batteries. Match the battery type exactly. Reconnect and test. If the keypad still fails after a fresh battery, the issue isn’t the battery.
- Operate the manual release. Locate the release lever or key on your operator and practice disengaging the gate. If you don’t know how it works now, you won’t remember in a power outage.
- Lubricate hinges, rollers, and the track. Use a lubricant appropriate for your hardware, not cooking oil or WD-40 as a long-term solution. Clean the track first, then lubricate. Squeaks and drags drop noticeably.
- Reprogram a remote. Follow the operator’s programming sequence. If it’s a LiftMaster or Mighty Mule unit, the manual will have a specific button-press pattern. Wrong timing is the usual culprit, not a dead remote.
- Clean the photo-eye sensors and the safety edge. A dirty lens reads as an obstruction. Wipe it, realign it, and test by walking through the beam. This is the single most common fixable cause of “gate reverses for no reason.”
None of these touch the operator’s internals, the wiring, or the hydraulics. That’s the point.
What a Voided Warranty Actually Costs in Hampton
Here’s the part that hurts. If your gate operator is three months old and under a parts warranty, a homeowner-installed replacement or a rewired control board can void that coverage entirely. That means you don’t just pay for the repair, you pay full price for a part the manufacturer would have replaced for free. On a unit that cost several hundred dollars, that’s the whole point of buying new.
Warranty terms vary by brand. New LiftMaster and FAAC operators, for instance, typically carry parts warranties that require installation or service by a qualified technician to remain valid. A DIY attempt that leaves evidence of unprofessional handling is usually enough for the manufacturer to deny a claim. We’ve seen this on relatively new units more often than you’d expect, and it’s a hard conversation to have.
The math is simple:
- Correct professional service on a covered part: the part is free, you pay for the labor.
- DIY that voids the warranty: you pay for the part and the labor, and possibly a replacement board you didn’t need.
If your operator is still under warranty, resist the urge. Read the manual, do the safe tasks on the list, and let a trained technician handle anything that touches the internals. If you’re unsure whether your unit is still covered, that’s a good question to ask before you start.
Diagnosis vs Replacement: Why the Brand Matters
A generic handyman will look at a gate that won’t open and reach for the most likely part. A brand-trained technician will read the fault codes, check the loop detector, test the safety edges, and confirm whether the motor is actually the problem before ordering anything. That difference matters more on electrical gate systems than almost any other repair trade, because the failure symptom rarely names the failing component.
A gate that opens but won’t close is usually a sensor or loop problem, not a motor. A gate that reverses mid-travel is usually a safety device, not a control board. A gate that hums and doesn’t move is often a failed capacitor or a jammed track, not a dead operator. If you replace the motor on a sensor fault, you’ve spent money for nothing and the gate still won’t work.
This is where brand familiarity pays off. We work on nine major automation brands, including LiftMaster, FAAC, BFT, Linear, Viking, Ghost Controls, DoorKing, Elite, and Mighty Mule. The differences between them aren’t cosmetic: control board behavior, fault-code patterns, programming sequences, and parts compatibility vary from one make to the next. Knowing the system means faster diagnosis and correctly-sourced parts. From broken hinges to failed motors, electric gate repair is where the brand knowledge separates a real repair from a guess.
If you’re not sure what brand and model you have, the label on the operator housing usually tells you. Take a photo before you call. It saves time on both ends.
How to Tell a Technician About a Failed DIY Attempt
Say it plainly: “I tried to fix this myself and I think I made it worse.” That sentence costs nothing and saves a lot. When a technician knows what was attempted, they check the components that could have been affected first, and they avoid the wrong diagnosis. When they don’t know, they have to trace the whole system to rule out unrelated failures, and the bill reflects it.
Here’s what actually helps us diagnose quickly:
- Name the component you touched. “I replaced the motor,” “I rewired the keypad,” “I loosened the limit switch,” “I unplugged the photo-eye.”
- Describe what changed before and after. Was the gate working, then stopped? Did it work for a day and fail again? Did it do something new, like reverse, hum, or jump the track?
- Keep the old part. If you removed a motor or a board, hold onto it. It helps identify what was there and whether the replacement was correct.
- Say whether the power was on during the attempt. This tells us what could have been shorted.
- Mention the brand if you know it. If you fitted a part from another brand, say so. Compatibility issues are a common cause of repeat failure.
There is no judgment in any of this. Technicians see partial DIY attempts often, and the homeowner who explains what happened always gets a faster, cheaper resolution than the one who hides it. We diagnose the system, not the symptom, and we can’t diagnose what we don’t know about.
When a Gate Fails Again After a DIY Fix
A repair that works for three days and then fails again is telling you the fix wasn’t the fix. The most common pattern: a homeowner with a Mighty Mule or LiftMaster operator replaces a remote that wasn’t the problem, or re-programs a keypad that was working fine, and the gate fails again because the real cause was never addressed. That’s the moment to stop guessing.
Gates are systems, and systems have interdependencies. A dragging hinge stresses the operator. A misaligned photo-eye reverses the gate. A failing loop detector logs a fault the operator reports as a motor error. Every one of these can look like a different problem at the surface. A technician reads the whole system and isolates the actual failure.
One call covers repair, diagnosis, and installation. If you’re in Hampton, we can come out, assess the whole gate, and give you a written estimate before any work starts. That’s the number one question homeowners ask: “Will I get a surprise bill?” The answer is no. The price is quoted and agreed before we touch anything, and it’s set per job by the written estimate, not by how long the technician spends guessing.
Common Mistakes to Avoid
- Ordering a replacement operator before diagnosing the failure. A gate that won’t move is often a sensor, a loop, or a jammed track. Replacing the motor first is the expensive way to find out what the real problem was.
- Buying a different brand because it’s cheaper online. Control boards, safety edges, and remotes aren’t interchangeable across brands. A mismatched part can leave you with a gate that runs but doesn’t stop.
- Forcing a stuck operator by hand with the power on. This is the single most dangerous DIY gate mistake. Stored force in a hydraulic arm or a jammed swing operator can move suddenly, and the injury is serious.
- Bypassing a safety edge because “it kept reversing.” The reversing is the safety device doing its job. Disabling it is the opposite of a repair.
- Trying electrical work at the operator without a licensed electrician. Anything at line voltage belongs to an electrician. Low-voltage doesn’t mean safe to guess.
- Hiding a failed DIY attempt from the technician. The damage is usually traceable anyway, and finding it takes longer when it hasn’t been disclosed.
- Adjusting the limit switch without photographing the original position. Small movements change gate travel a lot. If you have to reset, you’ll want to know where it started.
See the difference
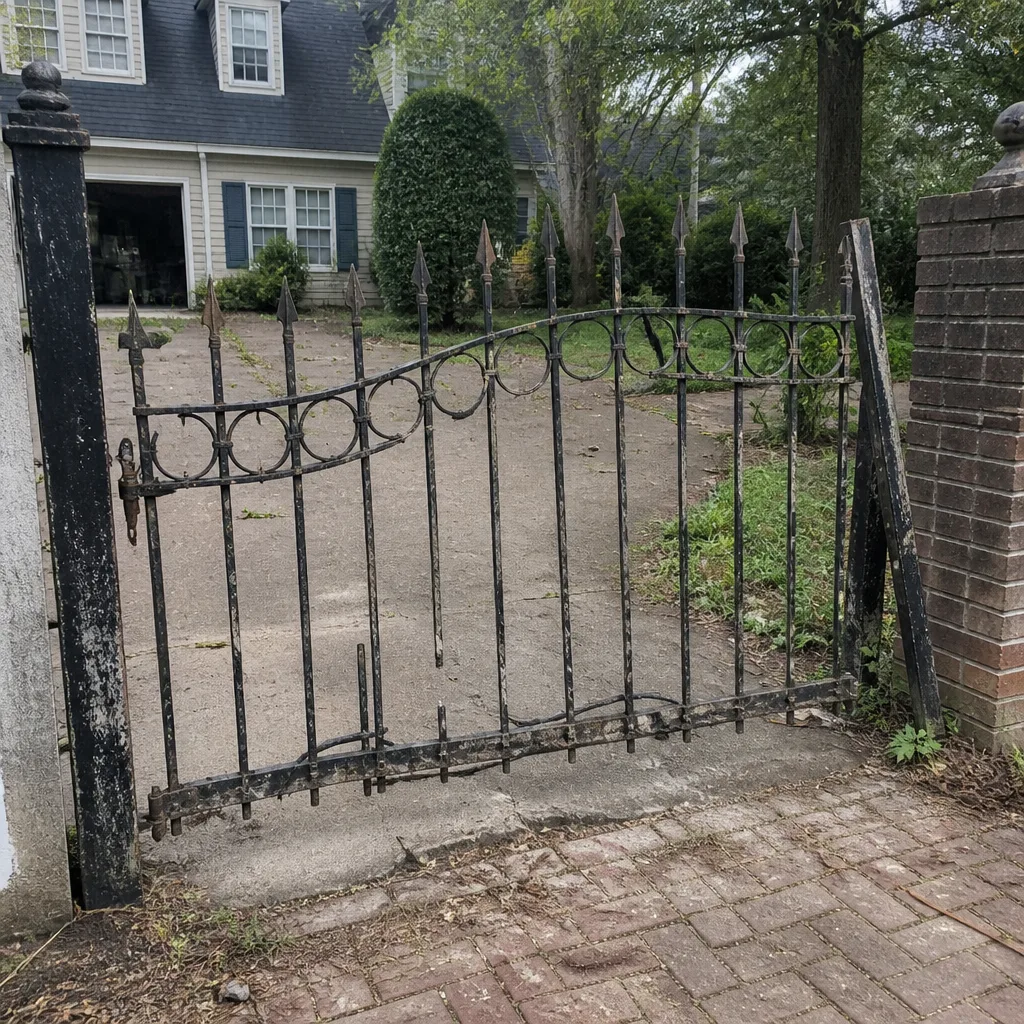 Before
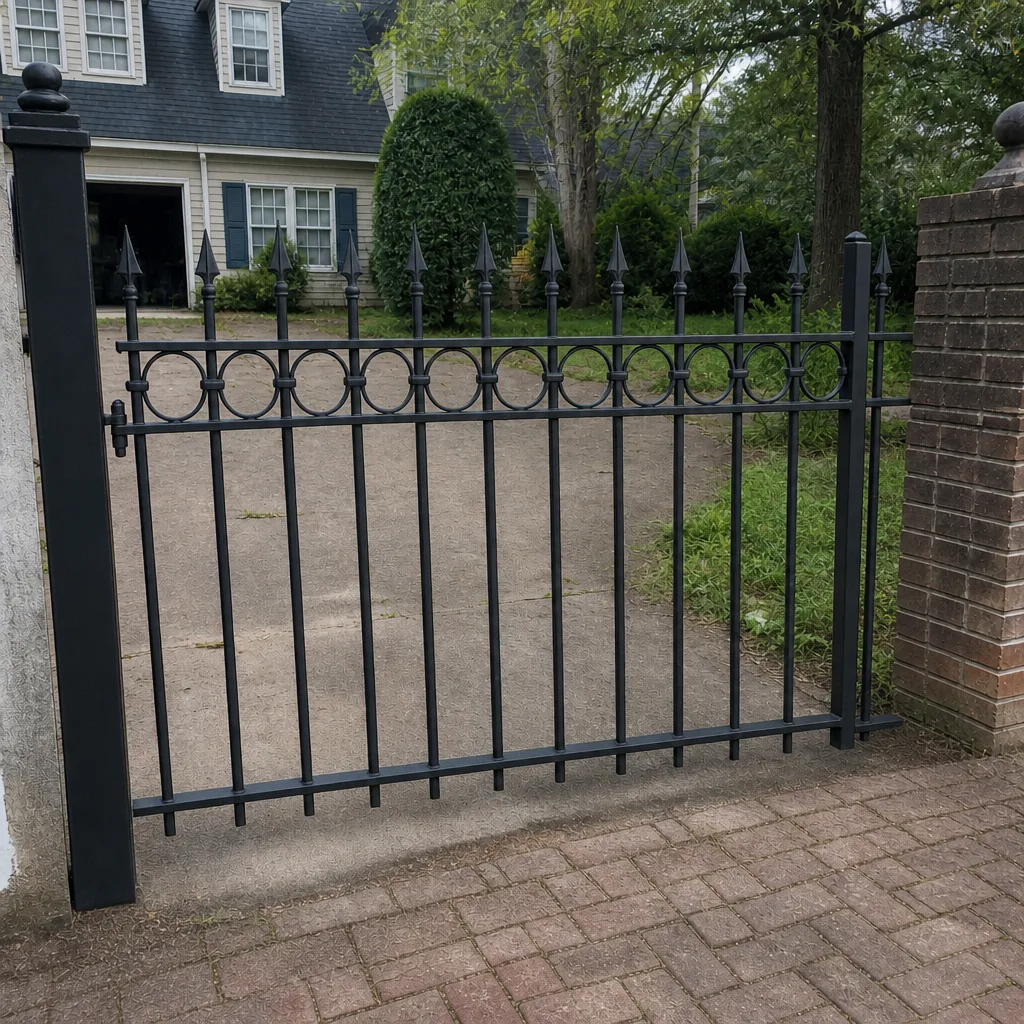 After
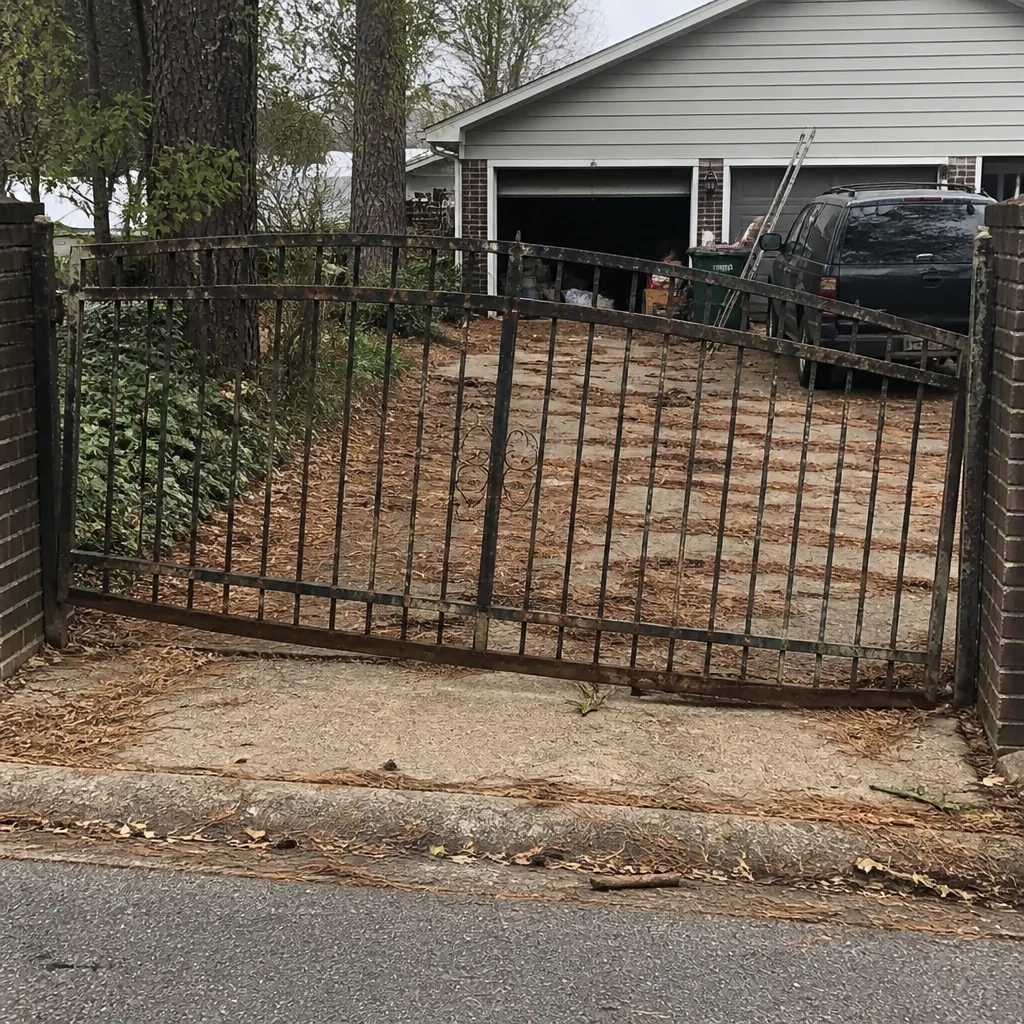 Before
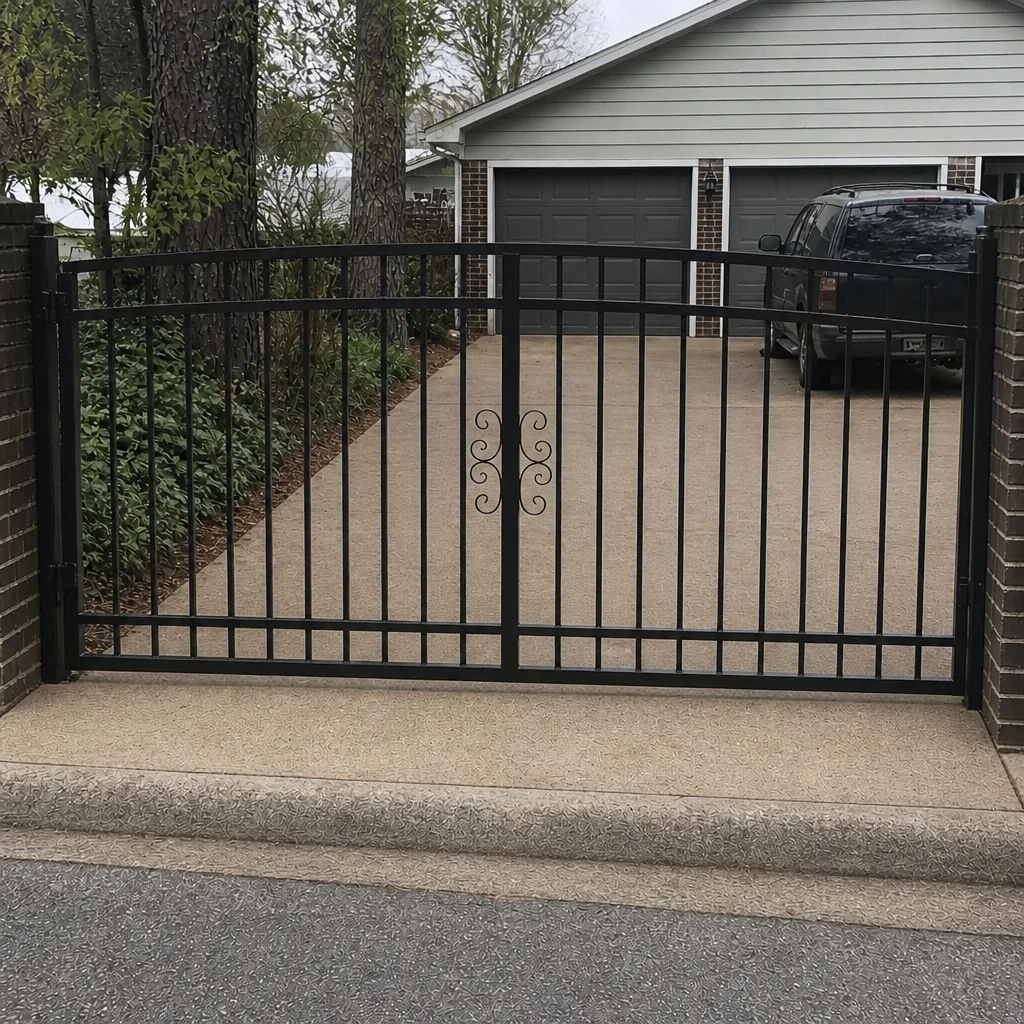 After
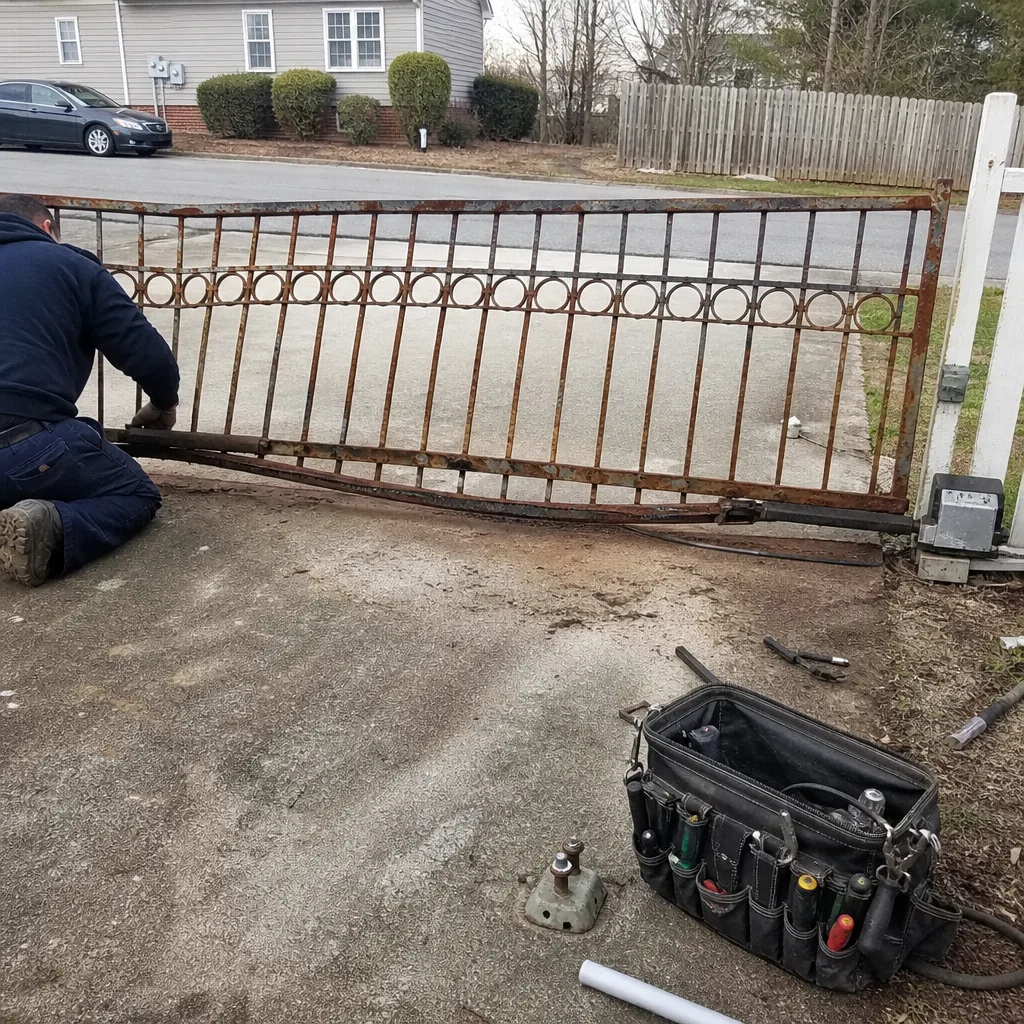 Before
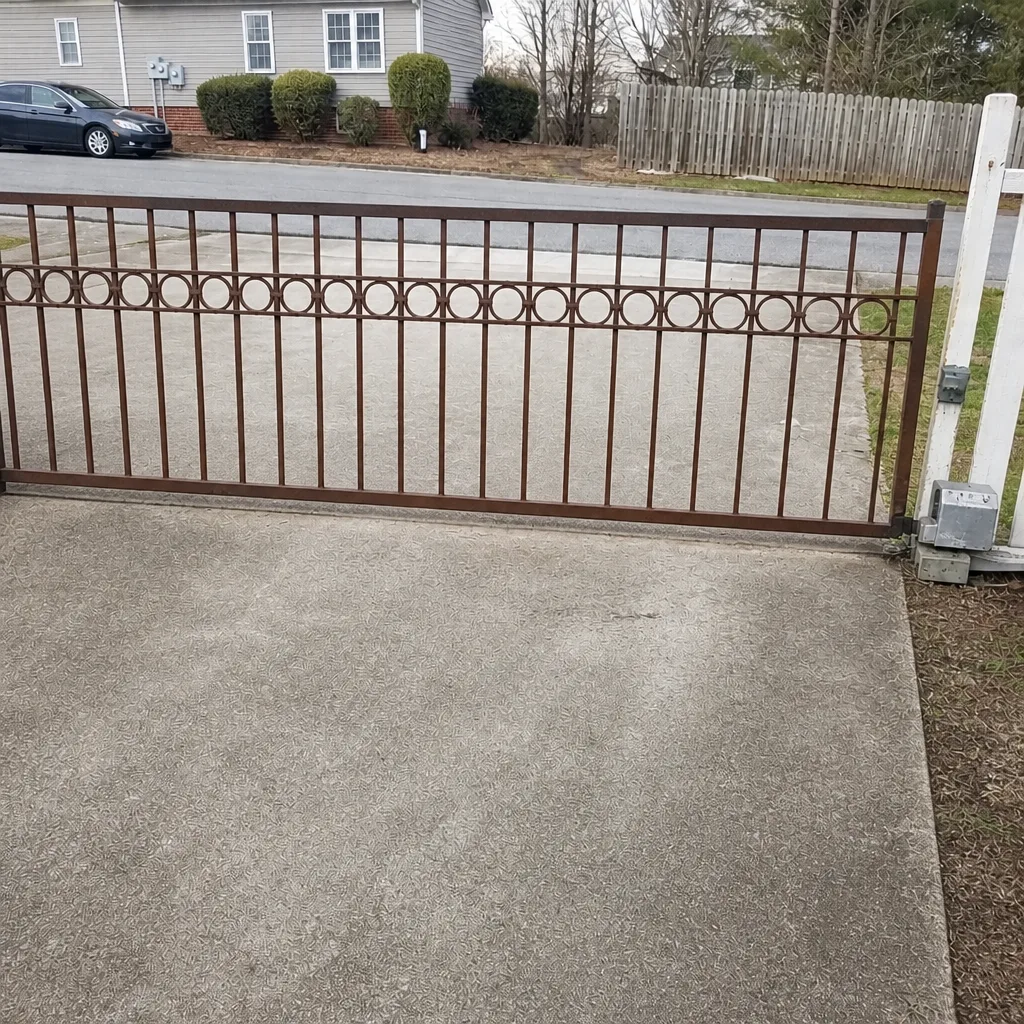 After
When to Call a Professional
Call a professional when the failure touches the operator, the control board, the wiring, the hydraulic arm, a heavy panel, or any safety device. Also call when the gate is under warranty, when a DIY fix hasn’t held, when the gate reverses unpredictably, or when a slide gate has come off its track. If you’re unsure, a free estimate is the cheap way to find out. Gate Repair Hampton offers free estimates in Hampton. Call (855) 686-7069. We answer 24/7. Fast dispatch from 7am to 7pm, Sunday through Friday. Our technicians have up to 9 years of experience, and we work on your brand, from Mighty Mule residential openers to FAAC and BFT systems and beyond, on residential and light commercial gates.
Frequently Asked Questions
No, not safely. A gate motor replacement involves heavy components, stored force in a swing or hydraulic arm, and correct pairing with the existing control board and safety devices. An incorrect replacement can also void the parts warranty on a new unit. The motor is the one part we recommend never attempting without training, regardless of how simple the tutorial looks. Call (855) 686-7069 for a free estimate, and we’ll tell you whether the motor is even the failing component.
No, not beyond the tasks listed in this guide. Swing gate operators move a heavy panel automatically and hold force even when the power is off. Touching the wiring, the arm, or the limit mechanism without training risks serious injury, especially on a hydraulic system where pressure can release suddenly. Manual release operation is safe and worth learning; everything inside the housing should stay closed. When in doubt, call us for a free estimate at (855) 686-7069.
Often, yes. Most brand warranties, including on LiftMaster and FAAC operators, require installation or service by a qualified technician to remain valid, and evidence of a homeowner attempt is usually enough to deny a parts claim. If your operator is still under warranty, that’s the strongest reason to leave it alone. Call (855) 686-7069 to check the likely coverage before you start.
Five things: replacing keypad and remote batteries, using the manual release, lubricating hinges and the track, reprogramming remotes, and cleaning the photo-eye sensors. These are low-risk and they teach you how your system behaves. Anything involving the operator internals, wiring, hydraulics, or a heavy panel that has dropped or jammed belongs to a trained technician. Call (855) 686-7069 if you’re not sure which category a repair falls into.
Gate repair is priced per job based on a written estimate, and the estimate is free. The price depends on the component: a sensor or hinge issue costs far less than a control board or motor replacement, and brand parts pricing varies. We quote and agree the price before any work starts, so there are no surprises. Call (855) 686-7069 for an exact quote; estimates are free, and we answer 24/7.
Say so when you call: what you touched, what changed after, whether the power was on, and the brand if you know it. The technician will check the affected components first and treat the repair as a whole-system diagnosis, not just a symptom fix. It costs less to be honest upfront than to have the damage traced out later. Call (855) 686-7069 for a free estimate, and we’ll sort it from there.
The Bottom Line
The line between DIY and professional gate repair isn’t about how capable you are. It’s about system complexity and liability. Handle the five safe tasks, learn your manual release, and leave the operator, wiring, hydraulics, and safety devices to a trained technician. The cost of getting it wrong far outweighs the savings, especially on a nearly new operator whose warranty is still live. If your gate is failing, misbehaving, or needs an upgrade, one call covers repair, diagnosis, and installation from gate repair through to a full new system. Our technicians have up to 9 years of experience and know the brands, including LiftMaster, FAAC, BFT, and Mighty Mule.
Call Gate Repair Hampton at (855) 686-7069 for a free estimate. We answer 24/7. Fast dispatch from 7am to 7pm, Sunday through Friday.
Written by the team at Gate Repair Hampton.