
Last updated November 16, 2026
 Wrought iron
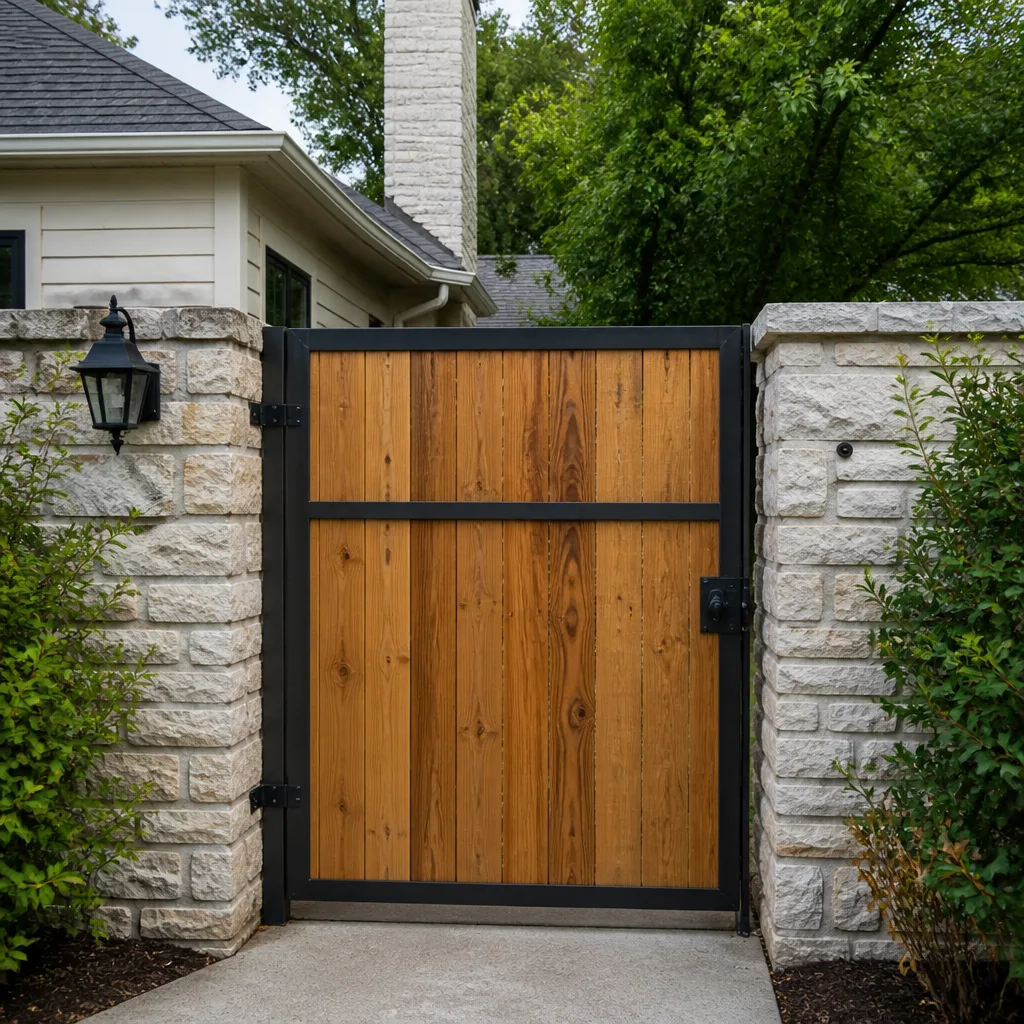 Wood & steel frame
 Farm & ranch
 Sliding driveway gates
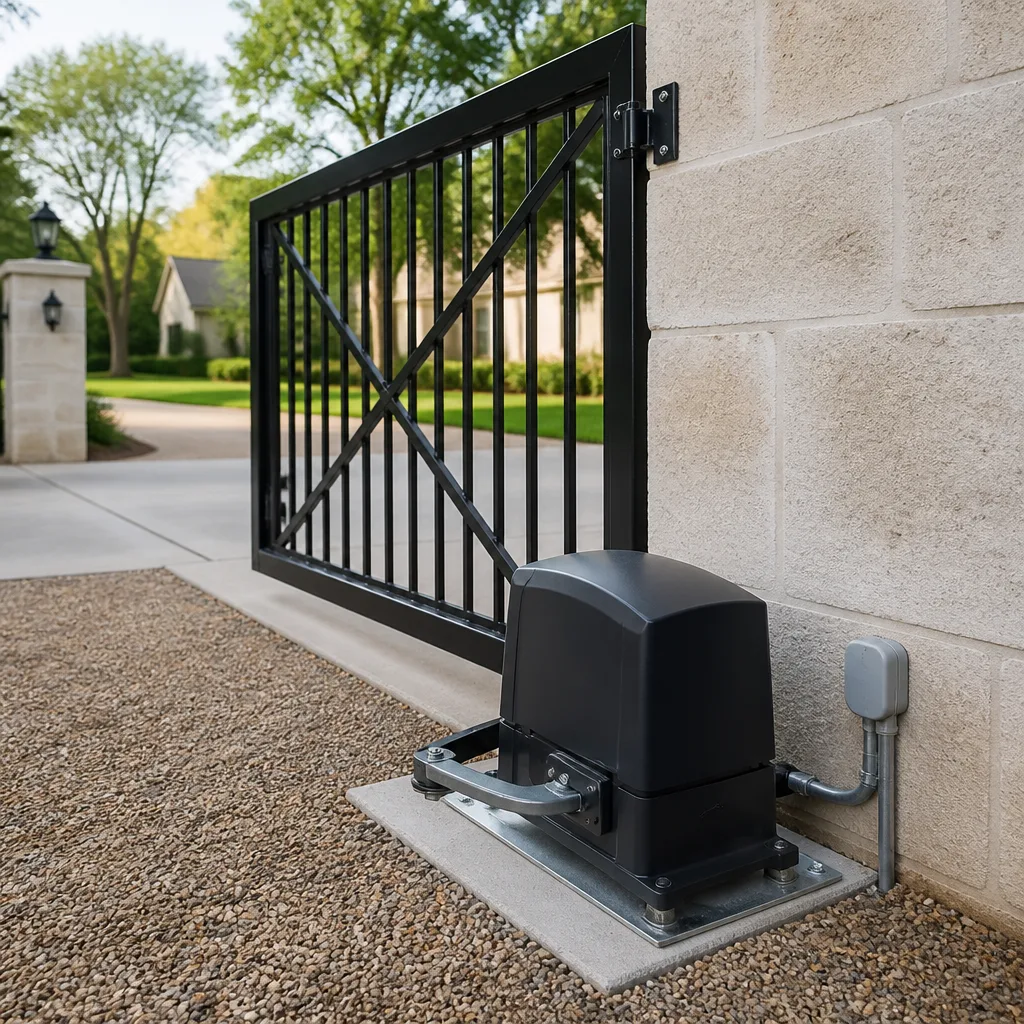 LiftMaster operators
Free on-site gate assessment - hinges, posts, and your LiftMaster or Nice gate operator checked before anything is quoted
The assessment is free and the quote is the invoice.
Get your free estimateGate Repair Maintenance Checklist for Hampton Homeowners
Most gate maintenance advice you’ll find online was written for a dry, inland climate, and it shows. A six-month lubrication schedule might be fine in Arizona, but in Hampton the air holds moisture and the temperature swings hard between seasons, and the parts that fail first are the ones nobody puts on a generic list: hinge pins, limit switches, and the low-voltage connections that feed your control board. What follows is a checklist organized by component rather than by season, built around what actually degrades first in Hampton and in what order. You’ll learn what you can safely handle, what needs a technician, and how to read your gate’s behavior before a small symptom becomes a dead operator.
Quick Answer
A working gate maintenance checklist for Hampton should be organized by component: structure, mechanics, electrical, and controls. Inspect hinges, tracks, and posts every 90 days, check the operator and wiring quarterly, and test safety devices and the control board monthly. Anything involving the operator’s power supply, the control board, or a heavy gate panel that has come off its track belongs with a trained technician, not a weekend project.
Styles & brands we work with
- Wrought iron
- Wood & steel frame
- Farm & ranch
- Sliding driveway gates
- LiftMaster operators
Table of Contents
- Why Hampton’s Climate Changes the Maintenance Calendar
- Structural Checklist: Posts, Hinges, and Frames
- Mechanical Checklist: Tracks, Rollers, and Latches
- Electrical Checklist: Operator, Wiring, and Power
- Control Board and Sensor Checklist
- Lubricants That Hold Up in Hampton Humidity
- How to Log Gate Behavior as Diagnostic Data
- What’s DIY-Safe and What Isn’t
Why Hampton’s Climate Changes the Maintenance Calendar
Hampton sits where tidal water and humid air meet dry, cold winter snaps, and that combination works on metal and electronics in ways a Phoenix-written checklist never accounts for. Moisture in the air, humidity that hangs on through summer, and repeated freeze-thaw cycles in winter all accelerate wear on the parts that move and the parts that conduct. A gate that lives ten years inland can develop stiff hinge pins and corroded terminal blocks far sooner here.
The practical result is that a twice-a-year schedule isn’t enough. Our technicians, who have up to 9 years of experience across residential and commercial systems, treat a 90-day inspection cycle as the baseline for automated gates in Hampton. That’s not an upsell; it’s what the local conditions demand. Parts that sit through humid stretches without attention tend to seize quietly, and by the time the gate stops moving, the wear has been building for months.
One more local wrinkle: many Hampton properties were built decades apart, so a single street can hold a lightweight Mighty Mule residential swing gate next to a heavier commercial slide system running a LiftMaster operator. The checklist items are the same, but the interval and the tolerance for wear differ. Heavy panels punish a worn hinge faster than light ones do.
Structural Checklist: Posts, Hinges, and Frames
Structure comes first because everything else hangs off it. A post that has shifted even slightly throws the whole gate geometry out, and no amount of motor adjustment fixes a gate that’s out of square.
- Check post stability. Push firmly against each post in both directions. Any movement at the base means the footing has loosened, and that needs a technician before the gate is used again.
- Inspect hinge pins and welds. Look for rust blooms, cracks at weld points, and play in the hinge. In Hampton humidity, hinge pins are among the first parts to stiffen.
- Check the frame for sag. With the gate partly open, sight along the top rail. A dip toward the latch side signals a hinge or post problem, not a motor problem.
- Verify gate-to-ground clearance. The gate should clear the ground evenly across its swing or slide path. Uneven clearance points to a settling post.
- Look at the latch alignment. The latch should engage without forcing. If you have to lift or push the gate to latch it, the structure has moved.
Structural issues are the one category where a homeowner should stop and call rather than tighten and hope. A sagging gate puts stress on the operator, and a falling panel is a genuine crush hazard. We diagnose the system, not just the symptom, because a “sticking gate” is often a structural problem wearing a mechanical disguise.
Mechanical Checklist: Tracks, Rollers, and Latches
Mechanical wear is where most gate problems start showing up as noise. Grinding, squealing, and a gate that starts its travel with a jolt all point to the moving parts. Slide gates have tracks and rollers; swing gates have hinges and arms. Both need the same quarterly attention.
- Slide gates: check the track for debris, leaves, and grit. A track packed with grit wears rollers fast and strains the operator.
- Rollers: spin each roller by hand. It should turn freely and quietly. A roller that wobbles or grinds needs replacement.
- Swing gate arms: check the operator arm and its mounting bracket for play. Loose mounting bolts cause erratic travel.
- Latches and stops: test the latch and the physical stops. Worn stops let the gate over-travel and stress the limit switches.
- Wheels and guides: on heavier slide systems, inspect the guide rollers at the top and the catch post at the far end.
This is the section where brand knowledge pays off. A BFT or FAAC operator has specific roller and arm tolerances, and generic parts swap in poorly. If a mechanical part is worn, the fix is the correct part for the make and model, not whatever fits the bracket. That’s the difference between a repair that lasts and one that comes back in six months.
Electrical Checklist: Operator, Wiring, and Power
The operator is the heart of an automated gate, and its electrical side is where the biggest safety risks live. A gate operator runs on line voltage or a charged battery, and both can hurt you. This section is a what-to-check list for observation, not a how-to-repair guide; anything past a visual check belongs with a trained technician.
- Check the operator housing. Look for water intrusion, cracked seals, or insect nests around the motor and gearbox. In Hampton’s damp stretches, water in the housing shortens board life.
- Observe the wiring runs. Follow the low-voltage wire from the operator to any keypad, loop, or intercom. Look for chafed insulation, loose conduit, and connections exposed to standing water.
- Check the battery backup. On battery-backed operators, note whether the gate still moves during a power interruption. A failing battery shows up as slow travel or a gate that stops mid-travel.
- Inspect the power disconnect. Confirm the dedicated circuit and disconnect are accessible and undamaged. Never open a live panel.
- Listen to the motor. A healthy motor sounds steady. Growling, clicking, or a motor that runs hot points to a gearbox or winding problem.
Electrical gate repair is a large share of what we handle, and the faults we find most often are loose low-voltage terminations and water-damaged terminal blocks, not failed motors. Diagnosing the actual fault saves the cost of a motor you didn’t need.
Control Board and Sensor Checklist
The control board is the item most homeowner checklists skip entirely, and it’s the one that produces the strangest symptoms. A gate that opens halfway, reverses for no reason, or ignores a remote is usually a control or sensor problem, not a mechanical one.
- Safety edges and photo-eyes: test monthly by interrupting the beam or pressing the edge while the gate closes. The gate must reverse.
- Loop detectors: on commercial systems, check that the exit loop and safety loop both register. A failed loop leaves the gate unresponsive or stuck open.
- Control board LEDs and status lights: most boards have indicator lights that show power, input, and fault status. A technician reads these to identify the fault without guessing.
- Terminal connections: check for corrosion or looseness at the board. Humid air and temperature swings work terminals loose over time.
- Remote and keypad response: note any delay or intermittent response. That’s often a receiver or antenna issue, not a dead board.
- Intercom and access control: test call and release functions if the gate has an intercom or entry system wired in.
On brands like DoorKing and Linear, control board diagnostics are the fastest path to a real answer. We test the input signals and the board logic separately, because replacing a board that was working fine all along is an expensive way to miss a loose sensor wire.
Lubricants That Hold Up in Hampton Humidity
The right lubricant does two jobs: it stays where you put it and it doesn’t collect grit. In Hampton’s humid air, the wrong product turns into a magnet for dust and moisture, and it can accelerate the wear it was meant to prevent.
- Use: a dry-film PTFE lubricant or a light silicone spray on hinge pins, rollers, and latch mechanisms. These leave a thin film that doesn’t hold grit.
- Use: a white lithium grease on the operator’s drive gears and the slide track (sparingly, wiped to a thin coat).
- Avoid: heavy motor oil and general-purpose grease on exposed pivot points. They trap grit and become a grinding paste over time.
- Avoid: WD-40 as a long-term lubricant on hinges. It’s a penetrant, not a lasting film, and it needs frequent reapplication.
- Avoid: over-lubricating the control side. Keep lubricant strictly off the board, terminals, photo-eyes, and loop wiring.
Apply lubricant to a clean surface, wipe off excess, and note the date. A hinge pin that needs lubricant every few weeks is a hinge pin that’s wearing out and should be inspected for replacement.
How to Log Gate Behavior as Diagnostic Data
Every change in how your gate behaves is information. The gate that opens slightly slower than it used to, or hesitates for a heartbeat at the start of travel, is telling you something is wearing before it fails. Written down, that pattern turns a repair into a quick diagnosis.
Keep a simple log near the keypad or in a notes app on your phone. Each time you notice something, write the date, what you saw, and the conditions (weather, time of day, temperature if you know it). Then watch for patterns.
- Speed changes: slower open or close speed, especially in cold weather, points to a straining motor, battery, or bearing.
- Grinding or clicking at start: usually a worn gear, roller, or hinge starting to seize.
- Intermittent reversal: a sensor or safety-edge issue, or a loose terminal.
- Remote lag or dropouts: receiver, antenna, or battery in the remote.
- Over-travel or short travel: limit switch drift or a worn mechanical stop.
When you call for service, that log is worth more than any description you could give on the spot. A technician who sees “slower in cold weather since February, grinding at start since March” can go straight to the likely cause instead of running a full diagnostic from scratch. It also prevents the most common waste in gate service: replacing a part because the actual fault was three items upstream.
What’s DIY-Safe and What Isn’t
Some checklist work is genuinely safe for a homeowner with basic tools. Some of it looks simple but isn’t, and getting it wrong means injury or a bigger repair bill. Here’s the honest line.
- DIY-safe: clearing debris from tracks, wiping down hinges, applying a dry-film lubricant, testing the safety edge by hand, checking the keypad and remotes, keeping the behavior log.
- DIY-safe: visual inspection of wiring, posts, and hinges for obvious damage, with the power off at the disconnect.
- Requires a technician: anything involving line voltage, the control board, the motor, or the battery backup. These carry real shock and burn risk.
- Requires a technician: adjusting limit switches or force settings. A misadjusted operator can reverse on a person or fail to reverse when it matters.
- Requires a technician: any structural work on posts or footings, and any heavy panel that has come off its track or dropped. A gate panel can crush.
- Requires a technician: replacing worn hinge pins, rollers, or operator arms, because a wrong-fit part causes the next failure faster than the worn one would have.
The rule of thumb: if a task involves opening an energized housing, moving a panel that outweighs you, or changing a force or travel setting, call. The rest of the checklist is yours.
Common Mistakes to Avoid
- Following a six-month calendar in a humid climate. A gate on a Hampton property needs a 90-day cycle for hinges, limits, and connections, or wear has already started before you look.
- Over-greasing exposed pivots. Heavy grease in this humidity collects grit and turns into grinding paste, wearing the parts faster than a dry film would.
- Ignoring slow travel until the gate stops. A slower gate is early warning of battery, bearing, or gear wear. Wait, and you lose the cheap fix.
- Adjusting limits or force settings to “make it work.” A misadjusted operator can fail to reverse on a person or object.
- Skipping the safety-edge and photo-eye test. These are the devices that protect people. Testing takes a minute and should happen monthly.
- Wiring the gate to a shared circuit or an unrated extension. Operators need a proper dedicated circuit; a makeshift power run is a shock and fire risk.
- Letting an unqualified handyman swap a control board. A board replacement is only the fix once the input signals and sensors are tested; otherwise you replace a working board and still have the fault.
See the difference
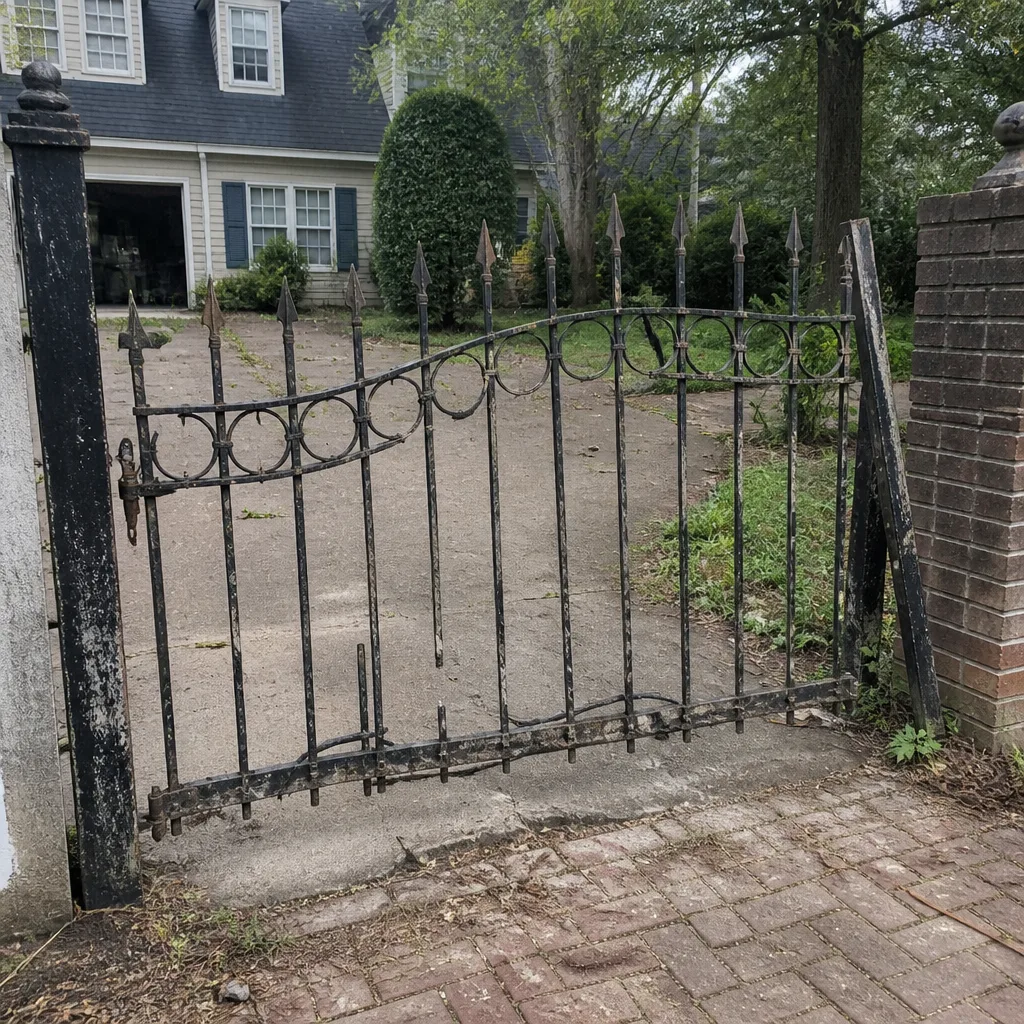 Before
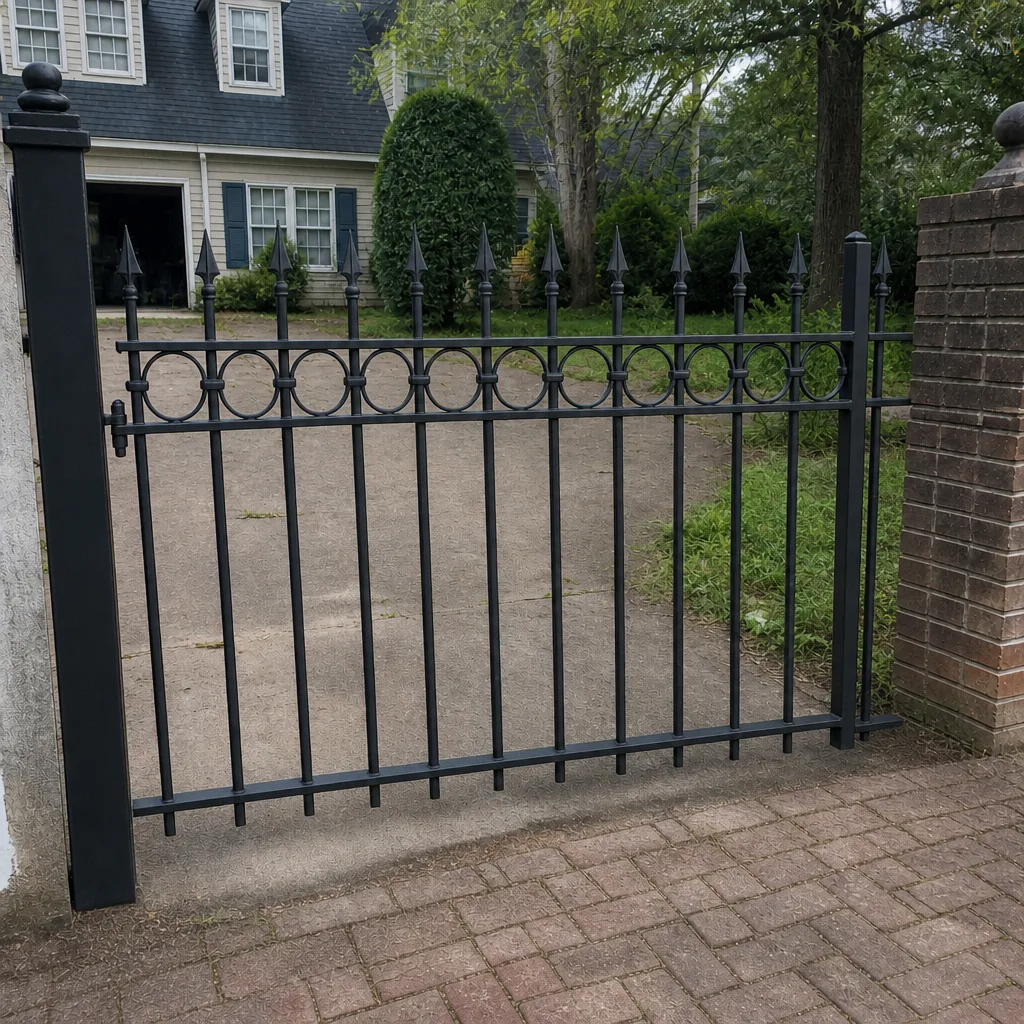 After
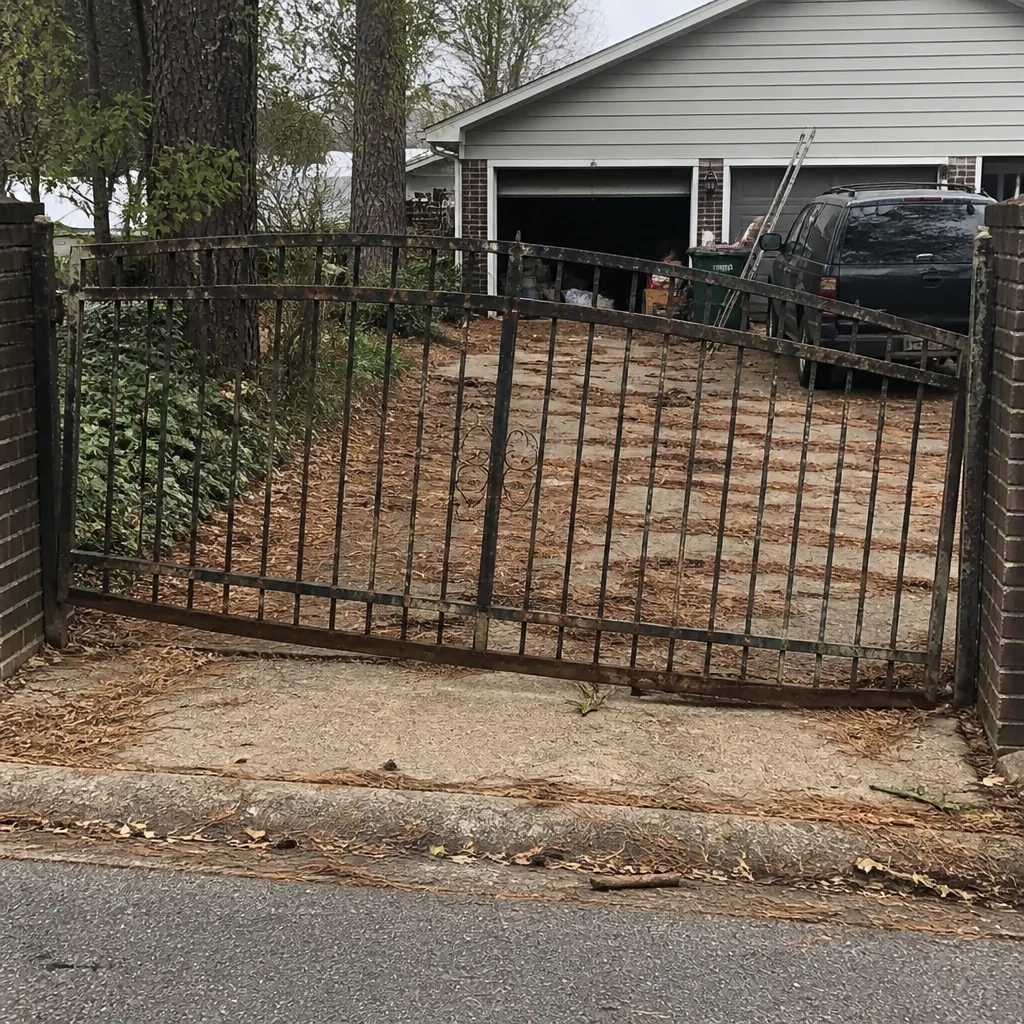 Before
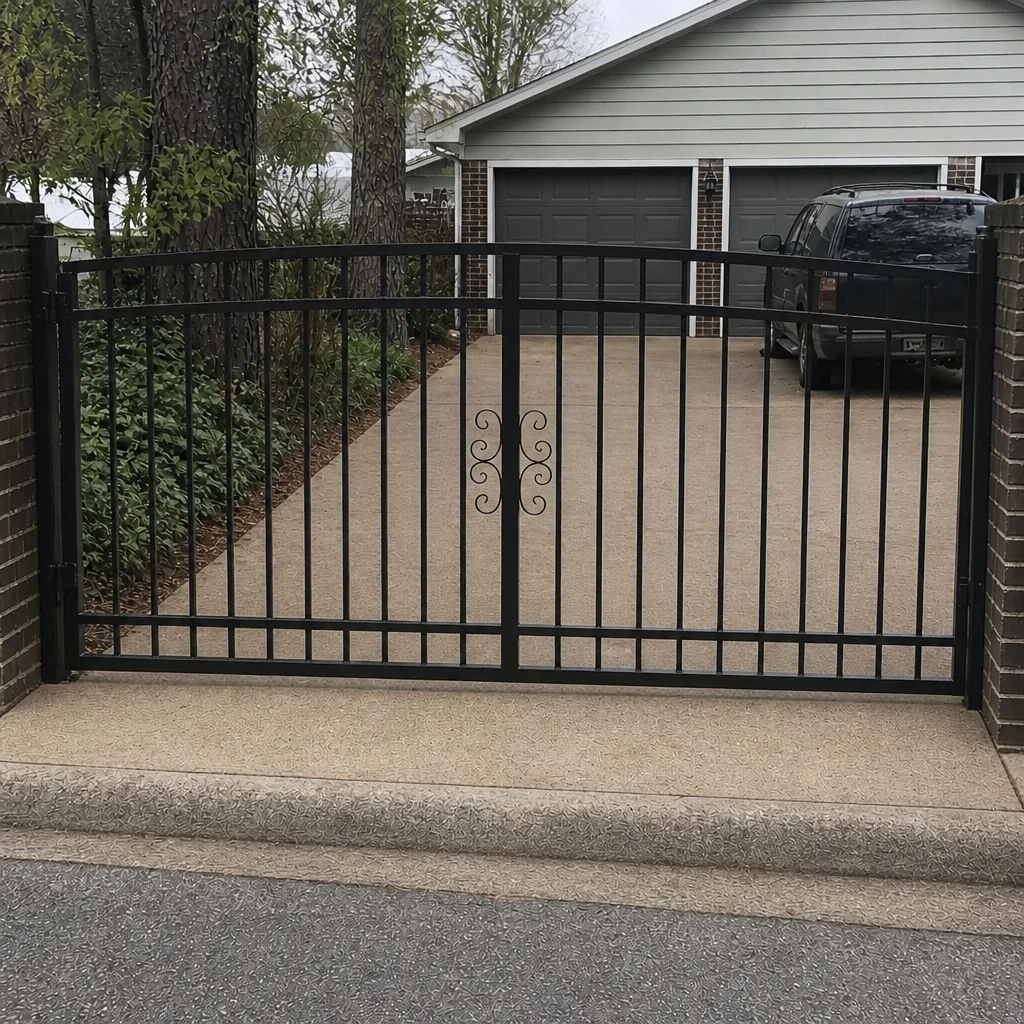 After
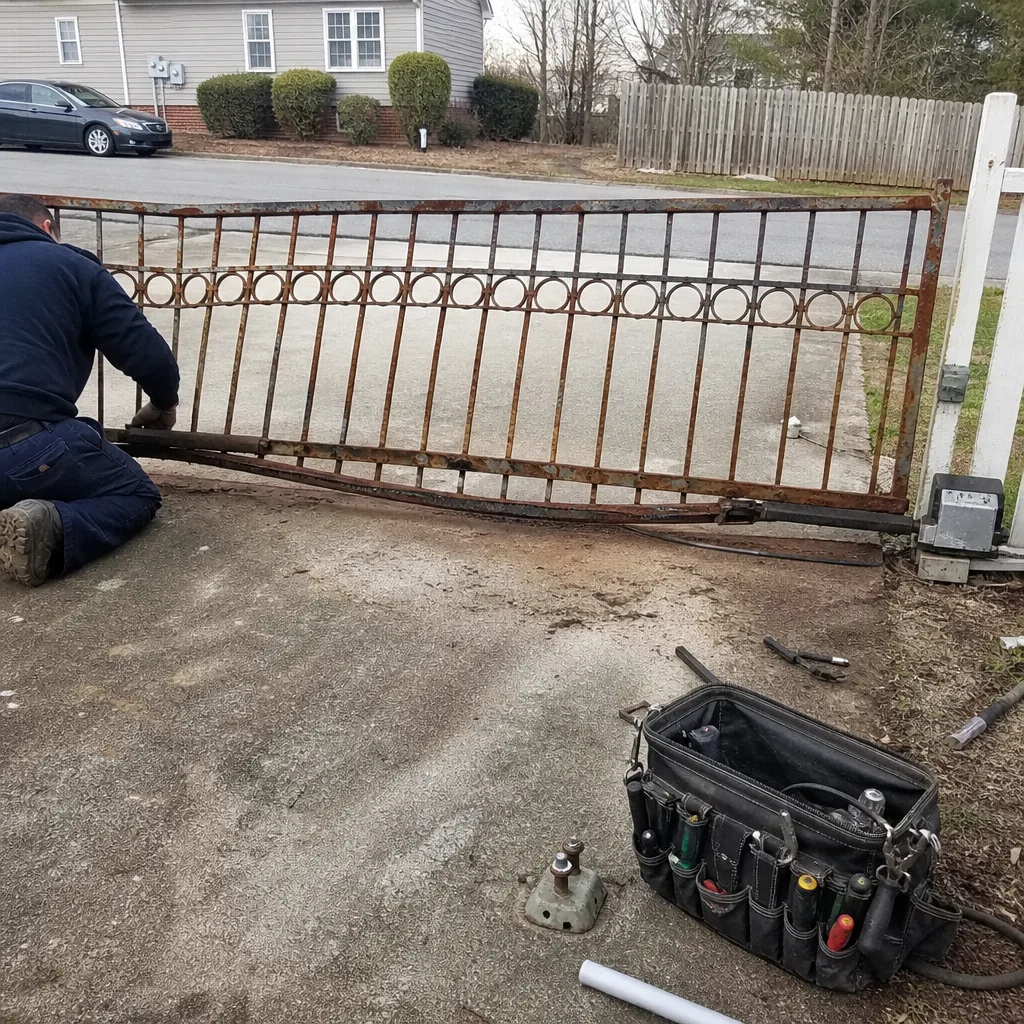 Before
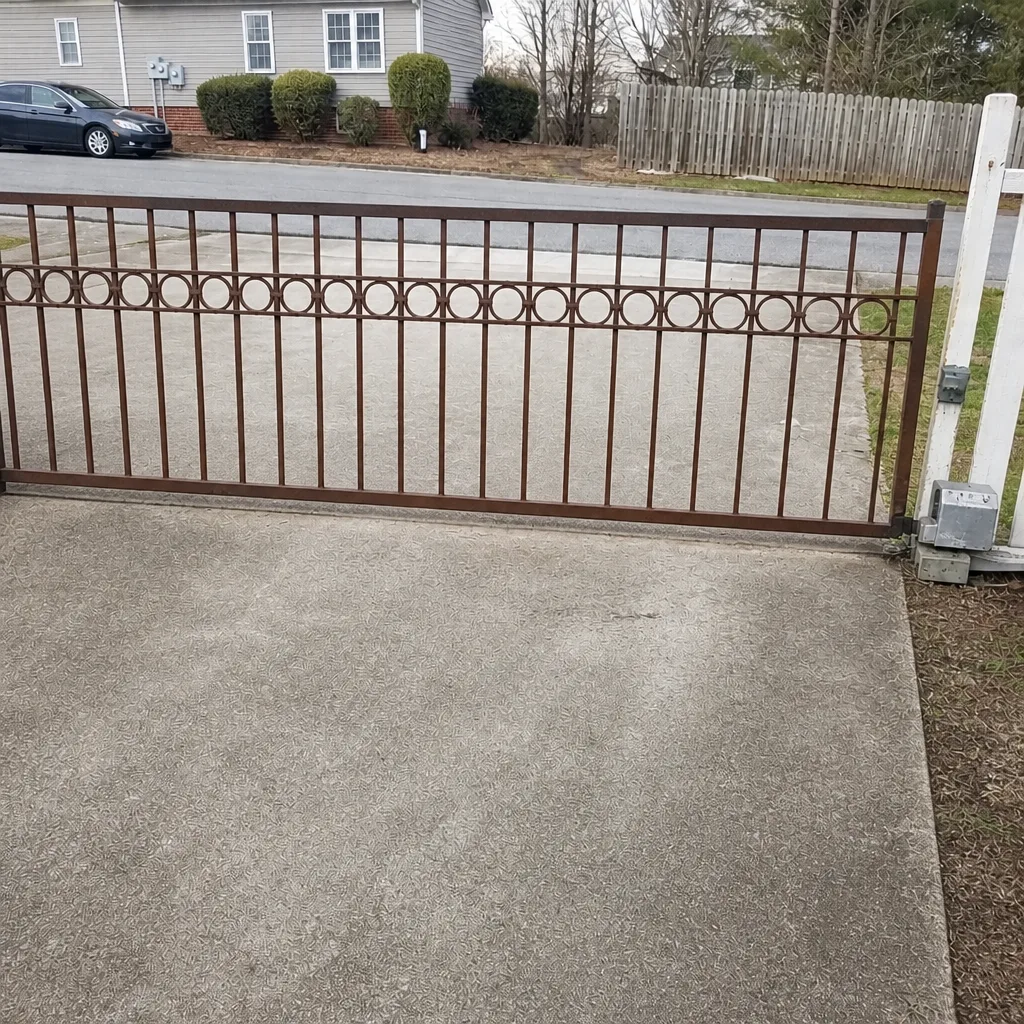 After
When to Call a Professional
Call a technician when the gate stops or reverses mid-travel, when the operator growls, clicks, or runs hot, when a post or panel has shifted, or when the safety edge and photo-eyes don’t test clean. Also call before using a gate whose control board shows fault lights, or whose battery backup has failed. These are the cases where the risk to people and the risk of a bigger repair both rise. Our electric gate repair service covers motors, control boards, loop detectors, and intercoms, and Gate Repair Hampton offers free estimates in Hampton, so the written price is agreed before any work starts. Call (855) 686-7069. We answer 24/7. Fast dispatch from 7am to 7pm, Sunday through Friday.
Frequently Asked Questions
Every 90 days is the baseline for an automated gate in Hampton. Humid air and temperature swings wear hinge pins, limit switches, and low-voltage connections faster than in drier climates, so a quarterly walk-through catches problems before they become failures.
You can lubricate hinges, rollers, and latches yourself with a dry-film PTFE or silicone spray. Keep lubricant off the control board, terminals, and photo-eyes, and call if a hinge pin needs attention more often than every few weeks, because that’s a sign of wear.
A slower gate is a real early warning, not just a nuisance. It usually means a straining battery, bearing, or gear, and noting the date and conditions in a behavior log helps a technician go straight to the cause. Call (855) 686-7069 for an exact quote, and estimates are free.
We’re experienced with nine major gate automation brands, including LiftMaster, FAAC, BFT, and Mighty Mule. That covers lightweight residential openers and heavier commercial access systems, so the correct part is fitted for the make and model rather than a generic substitute.
Test the safety edges and photo-eyes monthly by interrupting the beam or pressing the edge while the gate closes. The gate must reverse. If it doesn’t, stop using it and call. Testing takes a minute and protects the people who walk or drive through the gate.
Yes. We handle both residential and light commercial gate systems, including loop detectors and intercoms that property managers rely on. That makes us a single source for repair, diagnosis, and installation whether you manage one gate or several.
The Bottom Line
A maintenance checklist for a Hampton gate has to be organized by component and timed to the local climate, not borrowed from a dry inland schedule. Check structure, mechanics, electrical, and controls on a 90-day cycle, test safety devices monthly, use dry-film lubricants that resist grit, and keep a log of how the gate behaves. Handle the cleaning and testing yourself; leave power, control boards, force settings, and heavy panels to a technician. The small symptoms you record today are what keep a gate out of emergency repair later.
If your gate is acting up or you’d rather have a technician run the full checklist, we work on your brand and diagnose the system, not just the symptom. For Gate Repair Hampton, call (855) 686-7069. We answer 24/7. Fast dispatch from 7am to 7pm, Sunday through Friday.
Written by the team at Gate Repair Hampton.